Smart
The Spooler Smart guide (with electronics) and the spool.
- Guide and files for Spooler Smart
- Complete bill of materials and wiring of the electronics
- Spool, body and pass-through head
Includes: Spooler Smart
The guide is free to read. The downloads (STL, DXF, STEP, PDF, ZIP) and the assembly videos open after you buy this guide or the bundle.
The Spooler Smart guide (with electronics) and the spool.
Includes: Spooler Smart
Included in the bundle: Complete (Spooler Lite + Spooler Smart)
Spooler measures and dispenses cable, keeps track of your stock and records the history of the measurements. You control it from an app for Android or Apple. You print most of the parts on a 3D printer; the rest are turned and laser-cut parts, threaded inserts and bought components such as screws and washers. You can print in ASA-CF or in material of the Spectrum brand. You can buy the electronics and the turned and laser-cut parts in the e-shop.
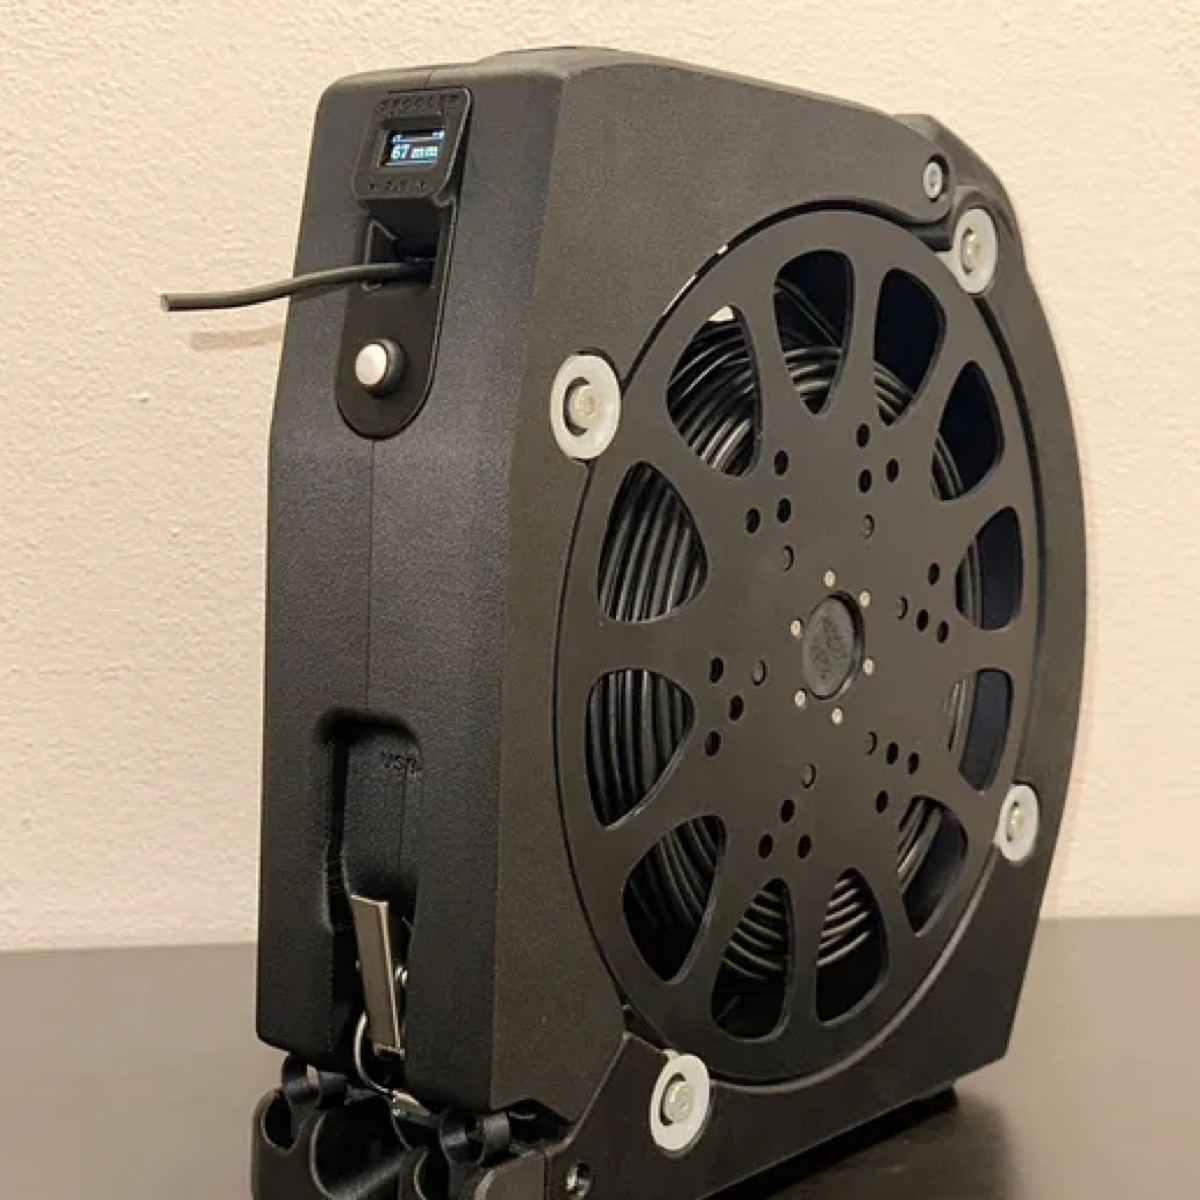
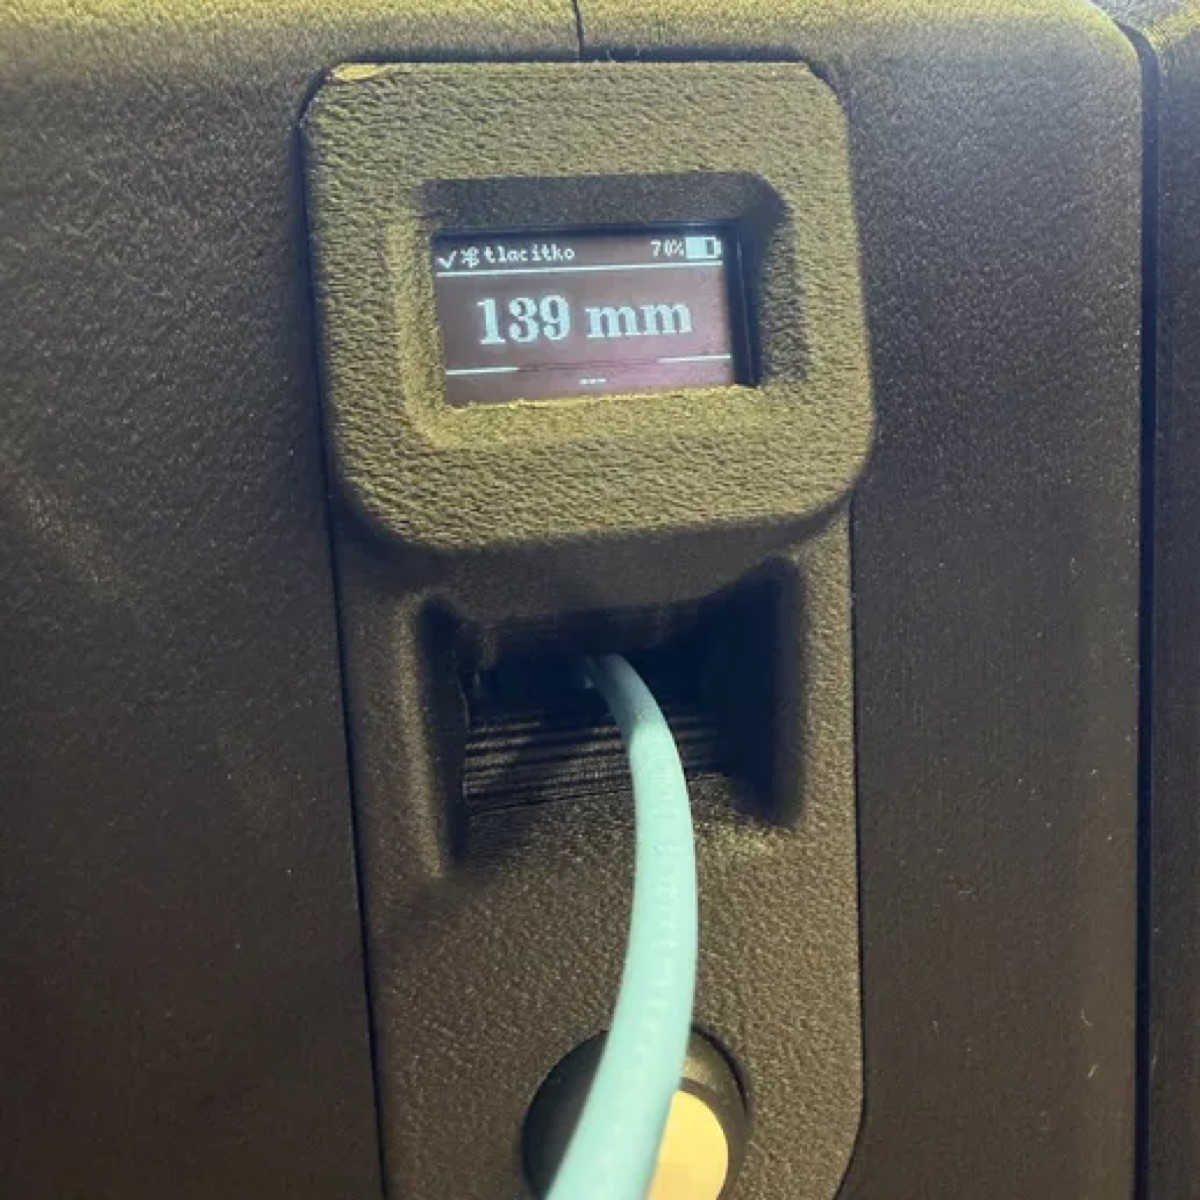
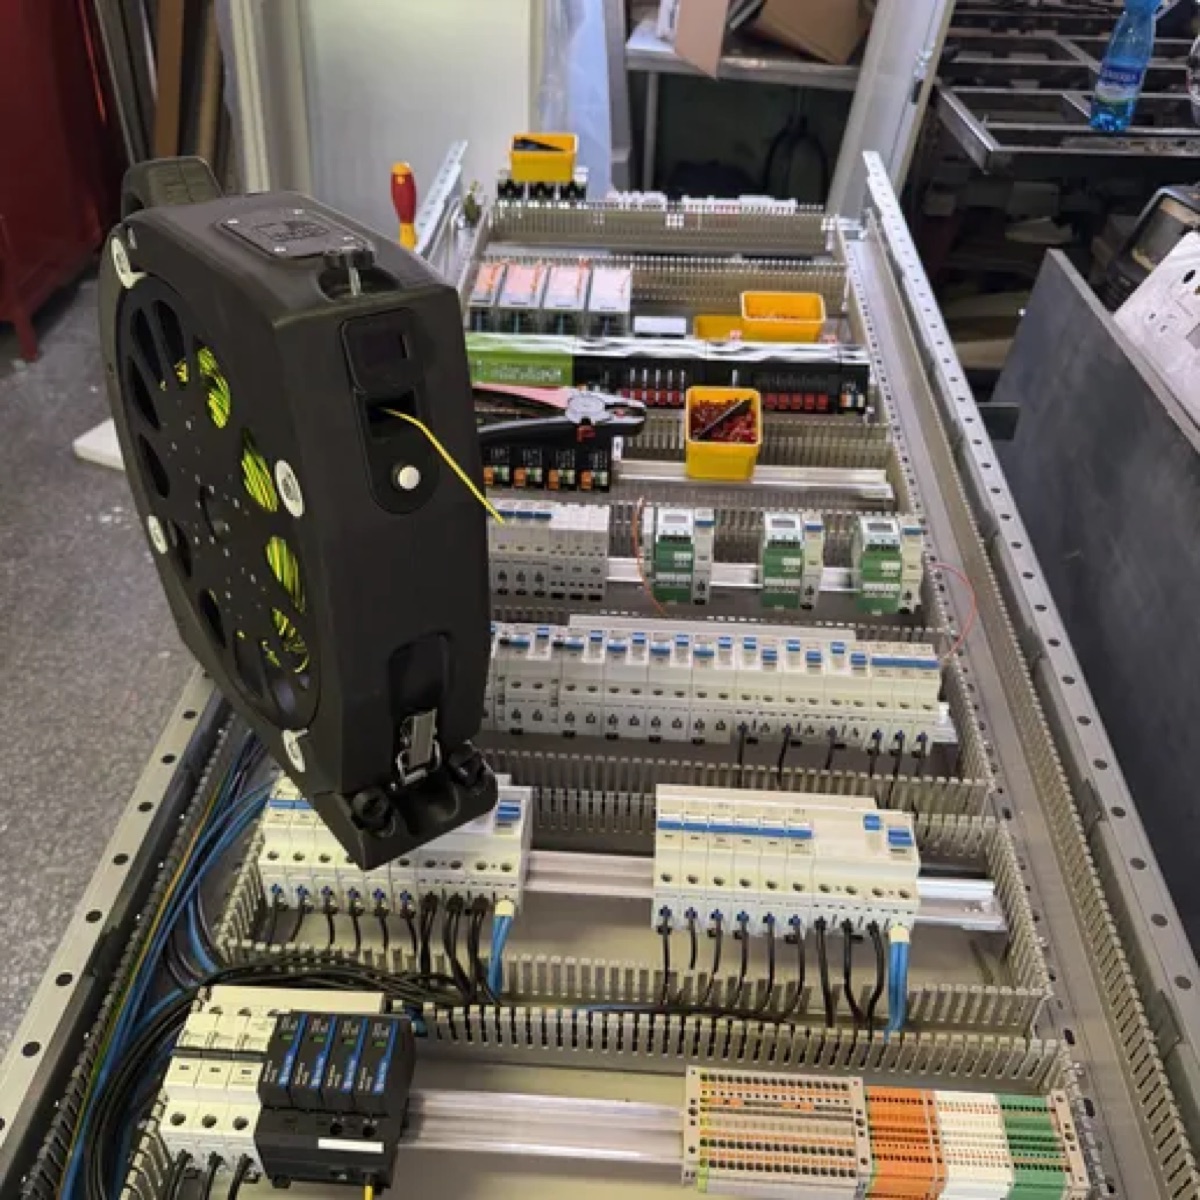
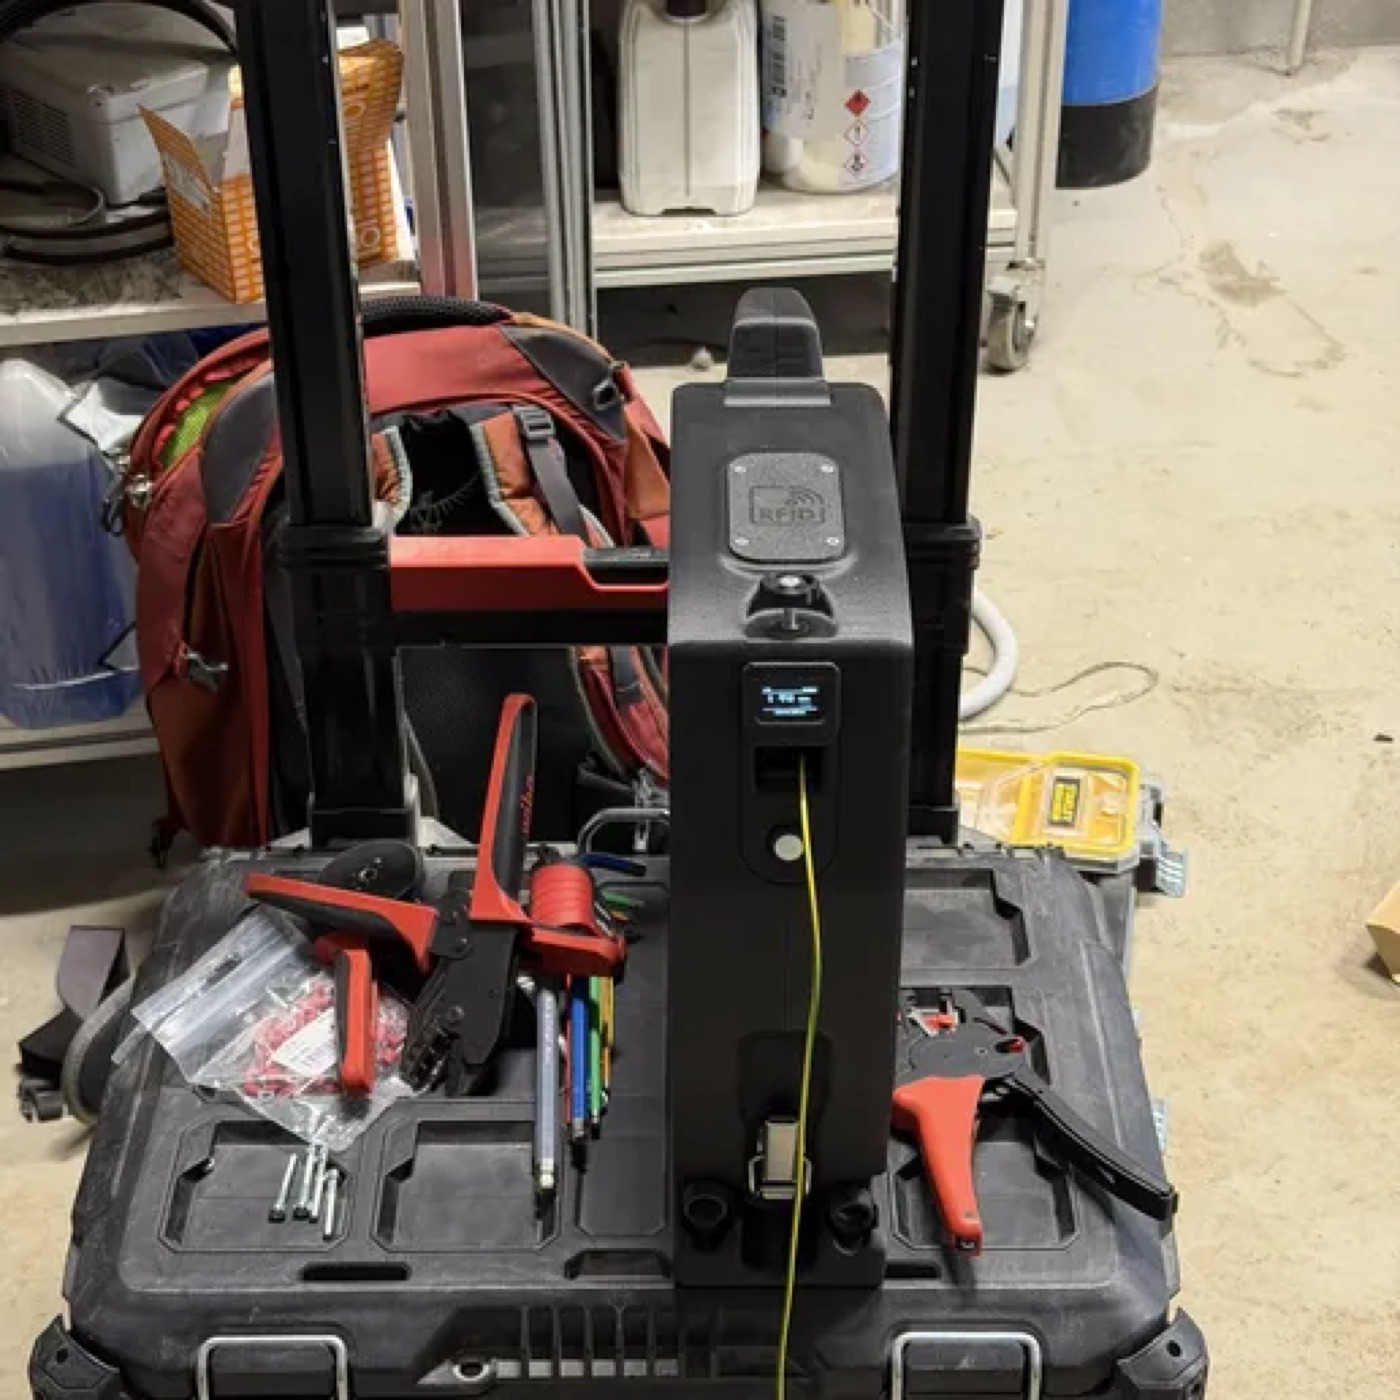
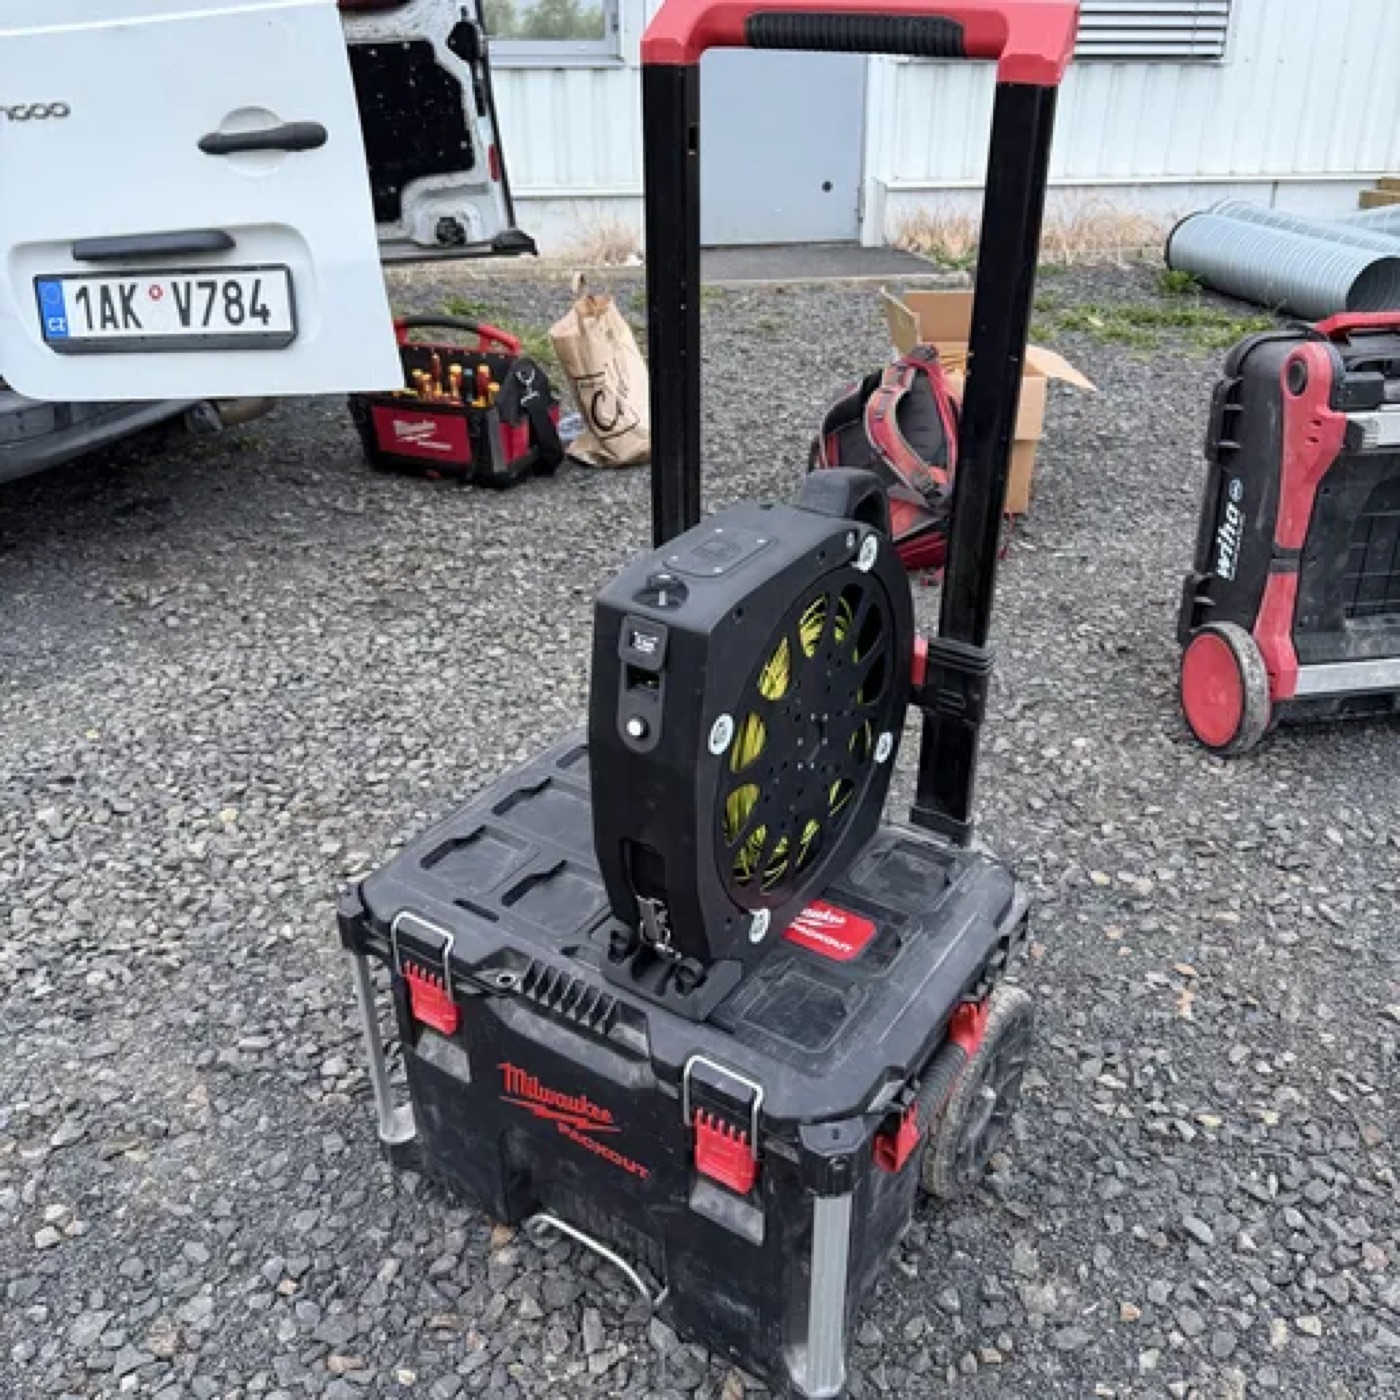
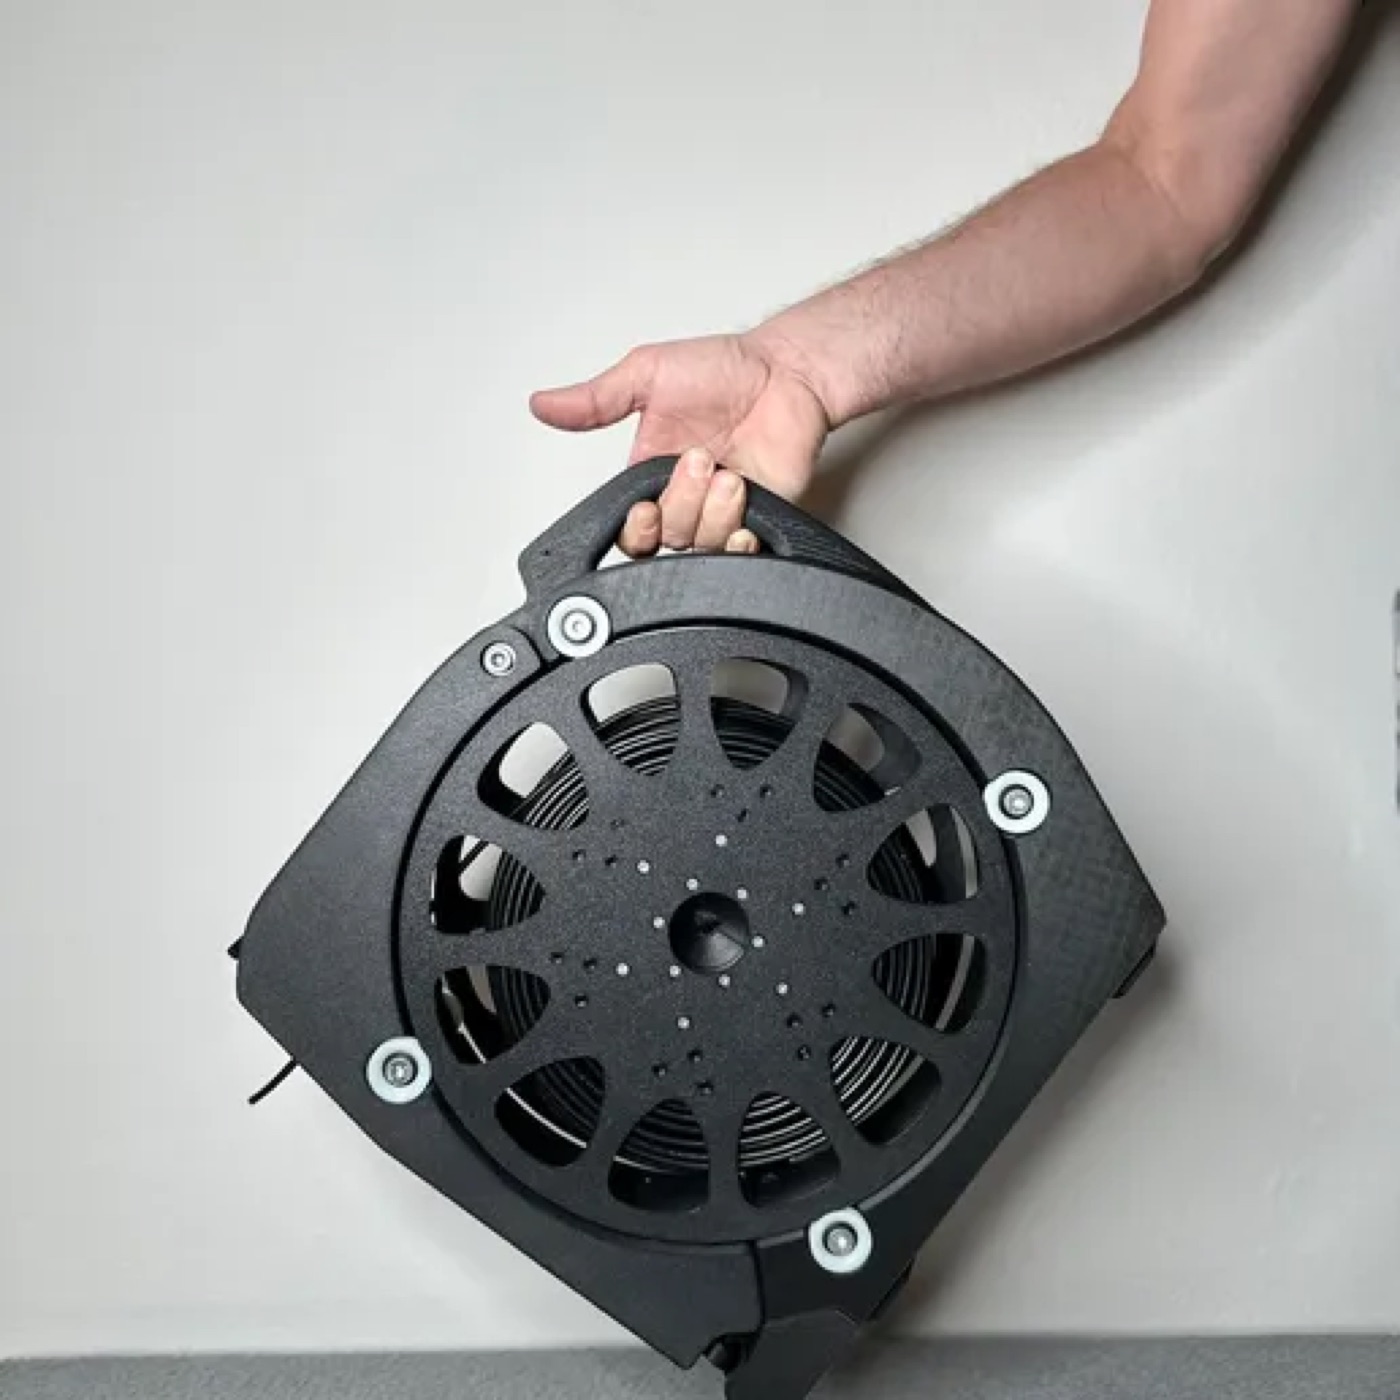
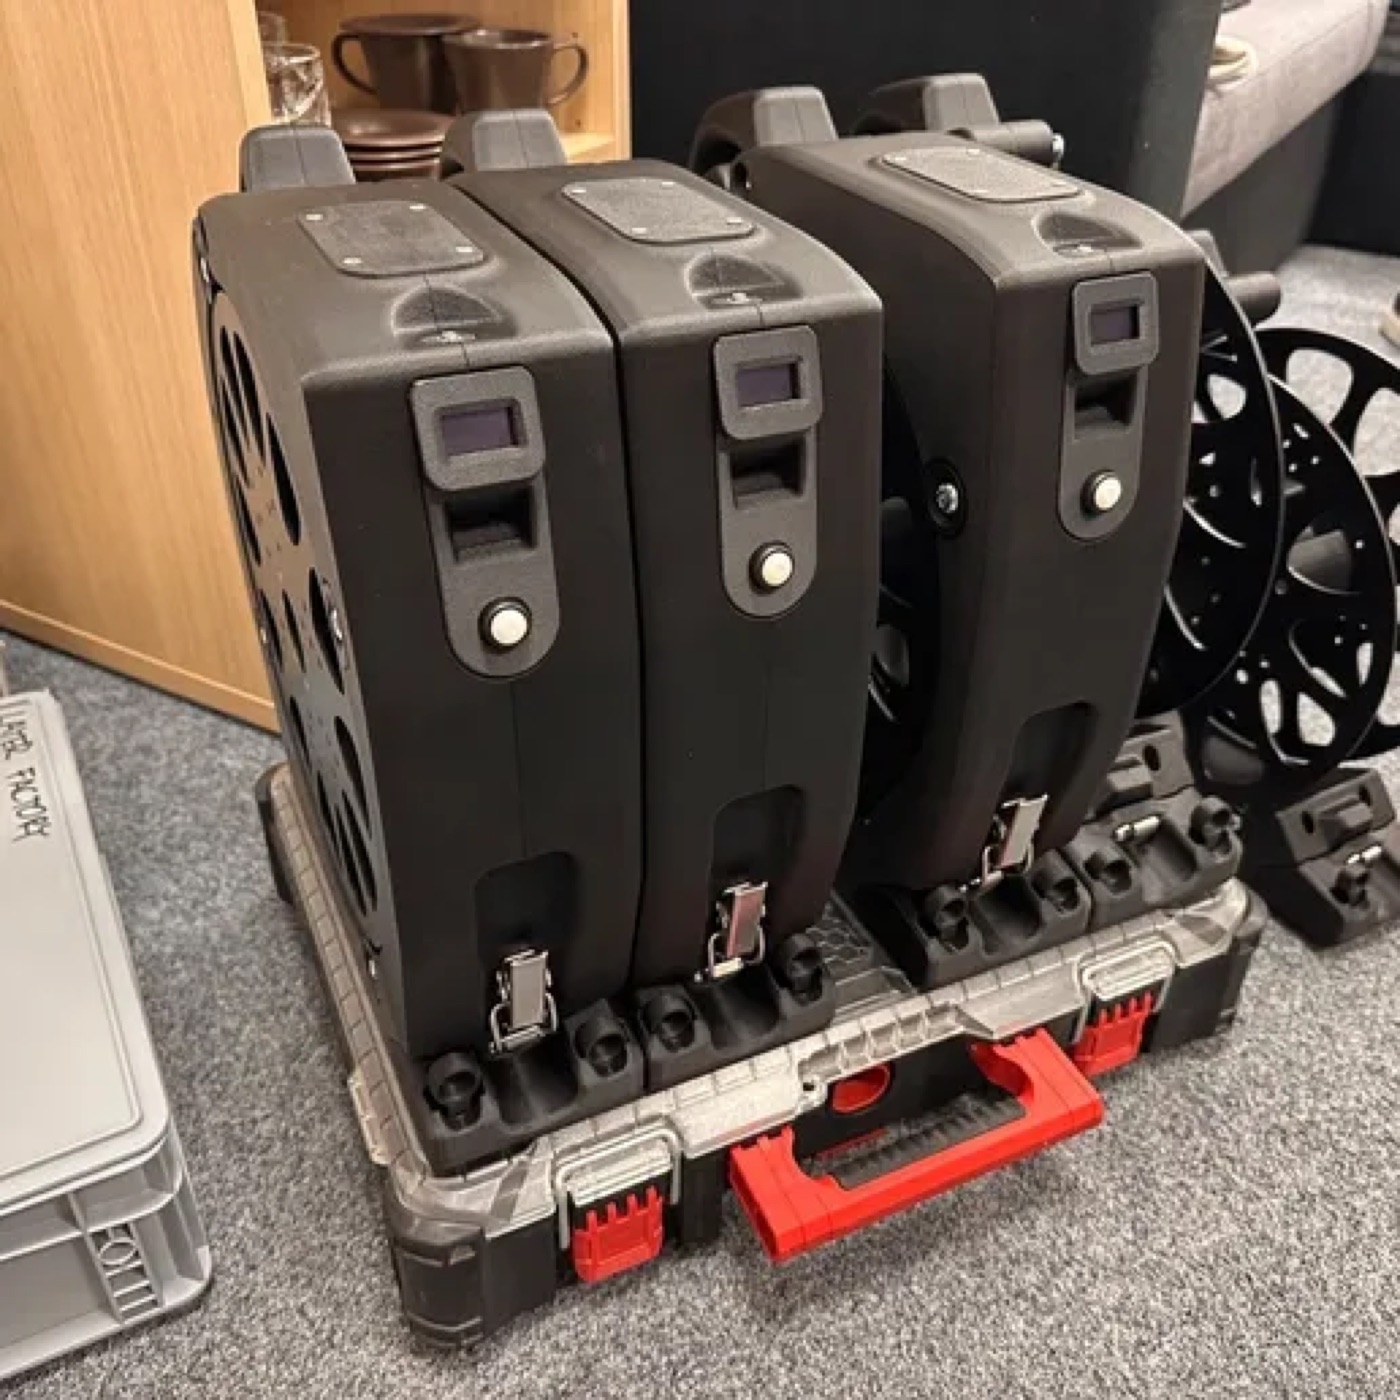
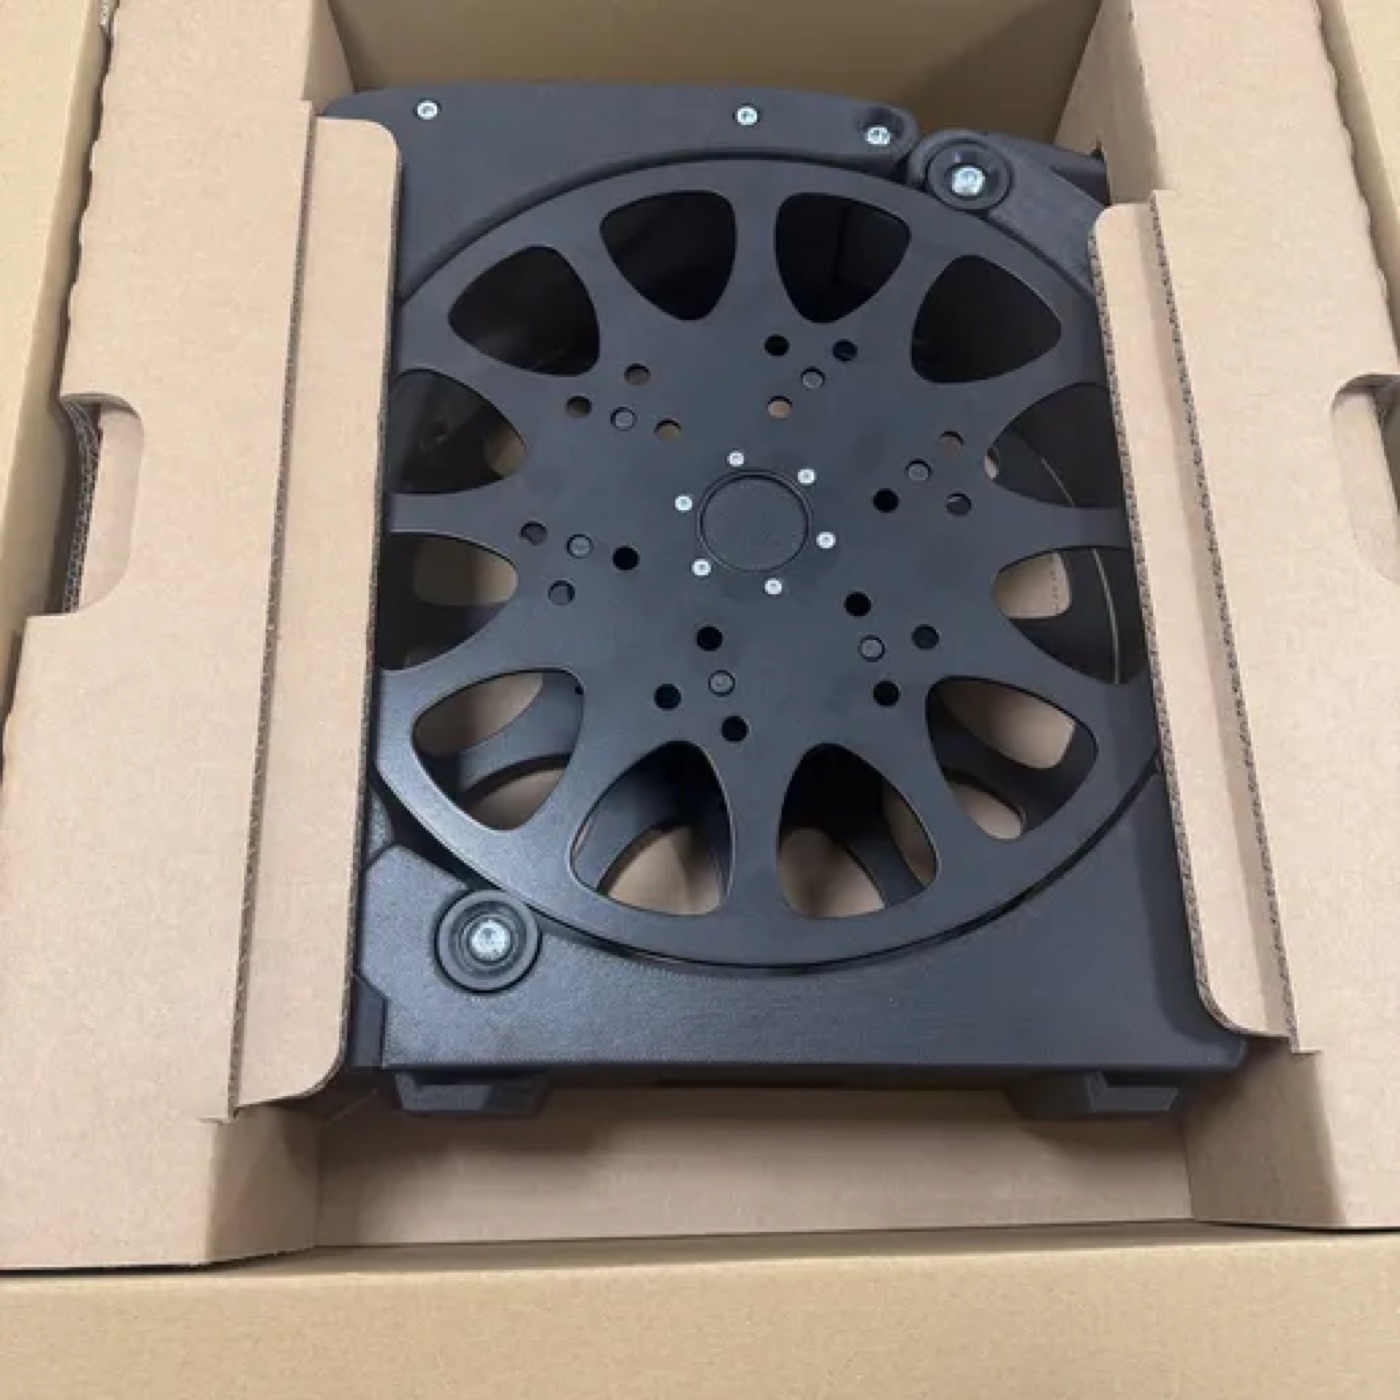
The spool has a guide of its own and is built separately.
You can buy the electronics (the assembled control board, the display and the sensor) ready-made in our e-shop, as well as the turned and laser-cut parts.
All STL models (ZIP) (3.6 MB) · 🔒 after you buy the guide
| Part | Made by | Note |
|---|---|---|
| 02-01-030d-BASE-LEFT🔒 after you buy the guide | 3D print | |
| 02-01-031d-BASE-RIGHT🔒 after you buy the guide | 3D print | |
| 02-01-032d-ARM-LEFT🔒 after you buy the guide | 3D print | arm, Spooler Smart |
| 02-01-033d-ARM-RIGHT🔒 after you buy the guide | 3D print | arm, Spooler Smart |
| 02-01-035d-BASE-FRONT🔒 after you buy the guide | 3D print | |
| 02-01-040-Milwaukee_Packout🔒 after you buy the guide | 3D print | Packout holder |
| 02-01-041-RYGL-L🔒 after you buy the guide | 3D print | |
| 02-01-046d-BATERY-LID🔒 after you buy the guide | 3D print | battery lid |
| 02-01-061-CLIP_BASE-M4-assy🔒 after you buy the guide | 3D print | latch base |
| Part | Made by | Note |
|---|---|---|
| 02-01-007-SPRING HOUSING-M6🔒 after you buy the guide | 3D print | |
| 02-01-010-ENCODER-SPACER🔒 after you buy the guide | 3D print | |
| 02-01-011d-ENCODER-BASE🔒 after you buy the guide | 3D print | |
| 02-01-012a-ENCODER-VALEC-A🔒 after you buy the guide | 3D print | |
| 02-01-013-MAGNET-HOLDER🔒 after you buy the guide | 3D print | |
| 02-01-015-PUSHER-CLAMP🔒 after you buy the guide | 3D print | |
| 02-01-016a-PUSHER🔒 after you buy the guide | 3D print | |
| 02-01-018-PUSH-CYLINDER🔒 after you buy the guide | 3D print | |
| 02-01-105-BOARD_HOLDER🔒 after you buy the guide | 3D print |
| Part | Made by | Note |
|---|---|---|
| 02-01-020a-ROLL🔒 after you buy the guide | lathe | nylon, or printed |
| 02-01-021-AXIS M8x15🔒 after you buy the guide | lathe | axis, aluminium |
Most joints use plastic threaded inserts (M3, M4, M5, M6). Press them in before you screw the parts together, always into the part named in the drawing next to the insert. The numbers are given with each assembly below.
Next you build the head, the rollers, the body and wire the electronics.