Basic
The Spooler Lite guide and the spool.
- Guide and files for Spooler Lite
- Spool, body and pass-through head
- STL models, spool sides (DXF, STEP), assembly videos
Includes: Spooler Lite
The spool is part of every guide. Its files and videos unlock after you buy any guide or a bundle.
The Spooler Lite guide and the spool.
Includes: Spooler Lite
The Spooler Smart guide (with electronics) and the spool.
Includes: Spooler Smart
The bundle of all guides at a discount: Spooler Lite and Spooler Smart, and the spool. What you already own is deducted.
Includes: Spooler Lite + Spooler Smart
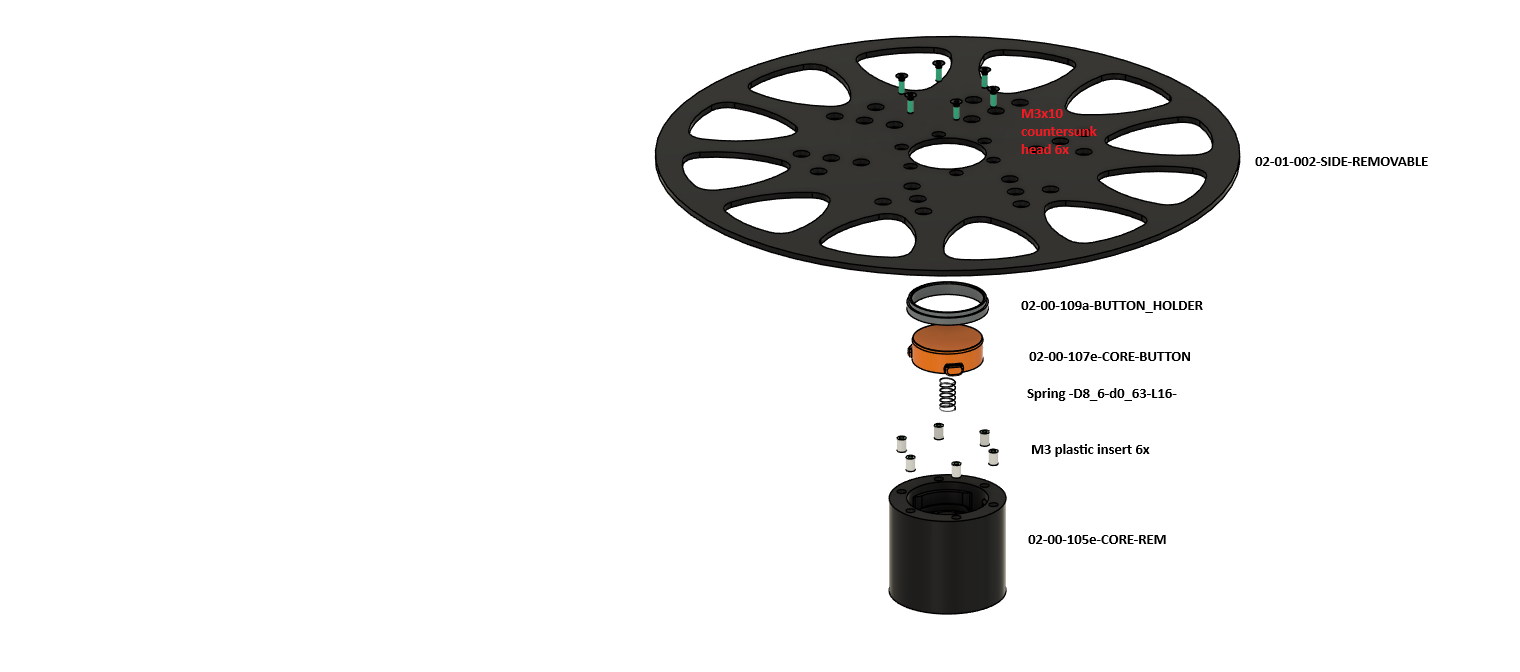
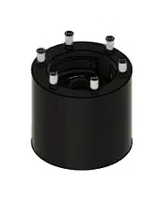
Press six M3 inserts into CORE-REM.
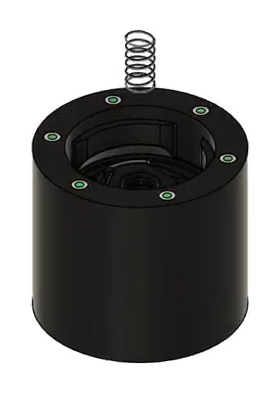
Put the spring into CORE-REM.
Put CORE-BUTTON on the spring and secure it with the ring BUTTON_HOLDER.
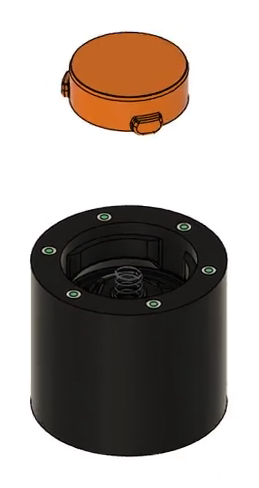
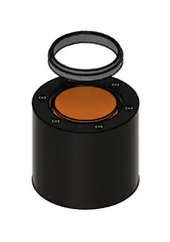
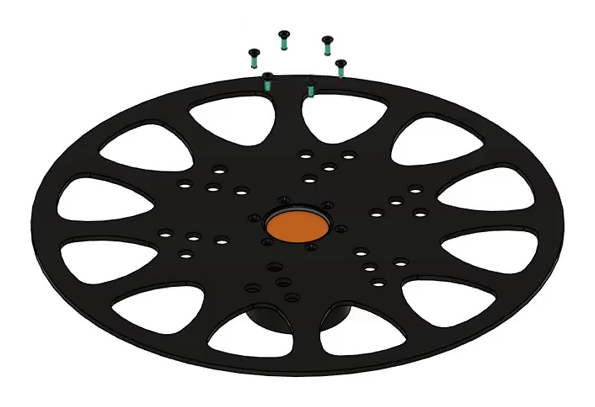
Put SIDE-REMOVABLE on and screw it down with six M3x10 screws. The spool is done: the fixed side and the removable side, which is held by the button in the core.