← All guides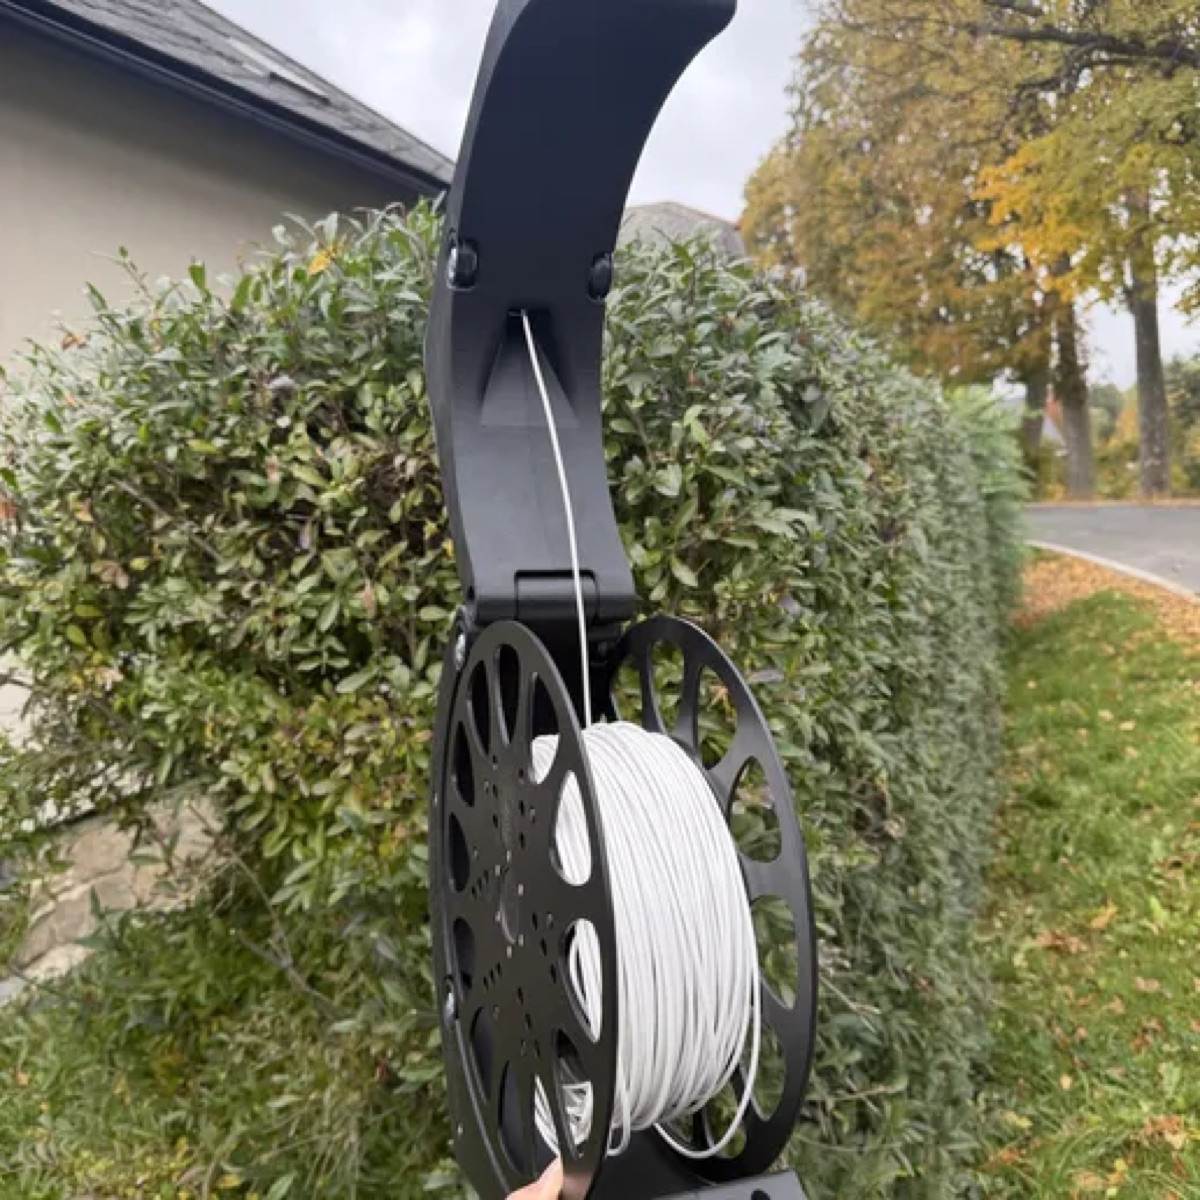
The finished spool with a cable Step 1
Step 2
Spool
The spool on its own: fixed and removable side, step by step, with the parts and the videos.
8 parts with a 3D model6 items in the bill of materials3 chapters2 videos
What is in the guide
Guide
Step 1
Fixed side
- The core with the inserts is screwed to the centre of the fixed side.
- The clip bender, three segments and three clips on the core.

Step 2
Removable side
- The core with the spring and the button, held by the holder.
- The side is screwed on with six M3x10 screws.

What you will need
| 18 | Screw M3x10, countersunk head |
| 1 | Screw M5x20 |
| 12 | Insert M3 |
| 1 | Insert M5 |
Downloads
Assembly guide (PDF)
printable guide, all chapters
All files (ZIP)
guide, 3D models, files and videos
3D models of the spool (STL)
8 parts of the spool
Spool sides (DXF, STEP, PDF)
for laser or CNC cutting
SIDE-FIX: DXF
for laser or CNC cutting
SIDE-FIX: STEP
3D model for CAD
SIDE-FIX: PDF výkres
drawing with dimensions
SIDE-REMOVABLE: DXF
for laser or CNC cutting
SIDE-REMOVABLE: STEP
3D model for CAD
SIDE-REMOVABLE: PDF výkres
drawing with dimensions
The full guide is for members
The step-by-step instructions, pictures, videos, downloads and the 3D viewer of the parts unlock after you buy.